In true Blue Peter tradition we shall entitle this article:
"How to build a dust collecting cyclone using stuff you may have laying about!".
The purpose of the exercise is to build a pre-filter that can sit between an ordinary domestic vacuum cleaner, and a power tool. The intention being extracting all or most of the dust and Chipping's before they get to the vacuum cleaner and fill / clog it up.....
The story begins
(Editors note - since this project was completed before the bright idea of recording any of the steps photographically was thought of, what you see here is mock up with carefully selected camera angles to make it look like we are actually building the thing from scratch!)
First select a suitable receptacle
This bin was a cheapie (about £5 from a local cash and carry).
It had a domed lid which has been discarded. Its about 22" tall and the diameter at the top is about 14"
The only modification we will need to this is the addition of a dust entry port. This is placed toward the top of the bin and enters tangentially at the side.

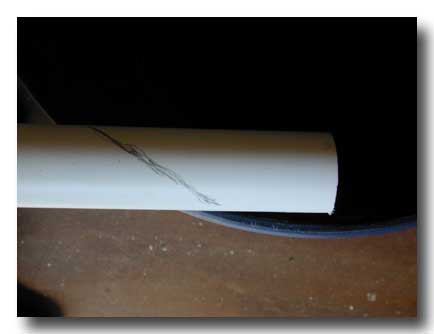
For this project a 6" section of 40mm waste pipe was chosen (since that was what was spare!).
This should be fine for most hand held power tools - although I would expect you would need something a bit bigger for keeping up with a bench planer / thicknesser.
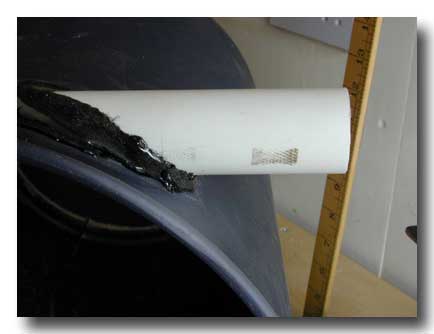
A pencil line has been sketched on the pipe by sighting down the edge of the bin. This indicates the cut required to get a suitable angle on the end of the pipe.
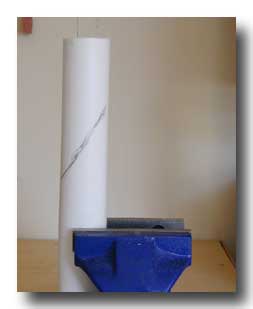
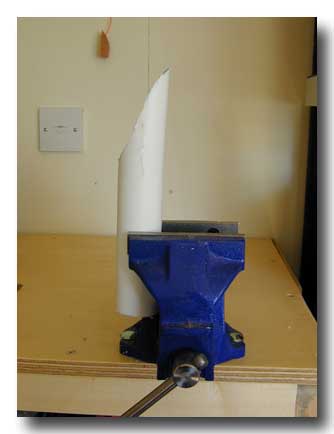
When complete you should have something like this:
Tidy up any rough edges with a sharp knife and some sandpaper.
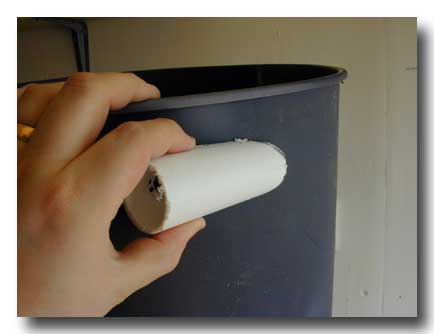
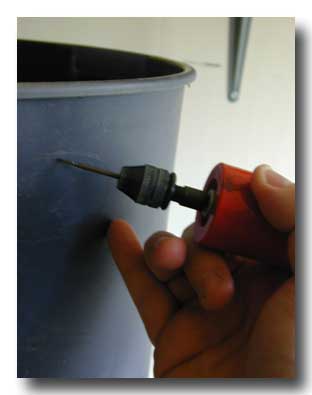
Now offer the pipe up to the entry point on the bin.
Adjust the profile of the pipe with a sharp knife and sandpaper until it follows the circumference of the bin reasonably closely.

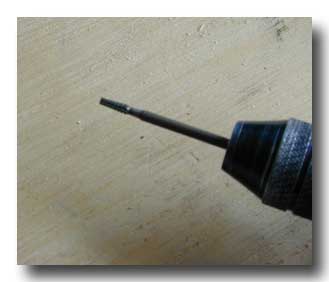
Using a small burr on a 12V mini drill you can "route" freehand round the line.
(No need to be a perfect oval some sanding and plenty of hot melt glue can hide all manner of sins!)
I gave the different bits a rough sand to add a key.
Now I fixed it in place. First by "tacking" with a few dabs of hot melt, and then smothering it in it!
(This is the bit most likely to get pulled and pushed about, so its worth making sure it stays put).
The top of the bin needs to make an air tight seal with the main body. So for this I selected an "off cut" of 19mm WPB ply.
The lid wants to be about 2" wider than the diameter of the bin.
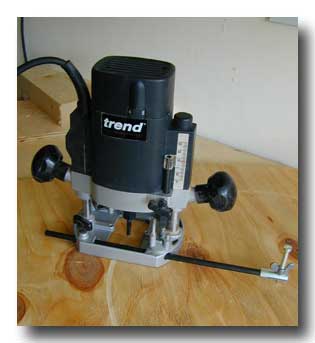
I cut the lid out using a router with a straight fluted bit.
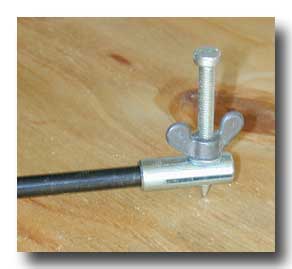
The beam trammel was used to give a nice accurate circle.
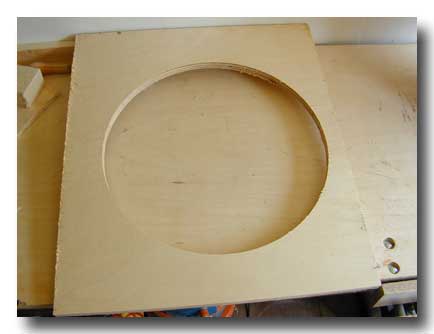
Once the lid is cut out - you will now need to find a suitable use for a ply wood hole!
(any suggestions?)
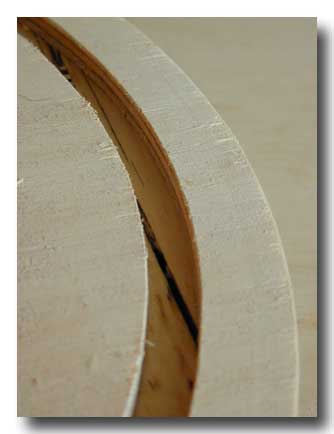
Next you need to measure the diameter of the bin carefully and route a grove to fit over the rim of the bin.
It this case the grove is 8mm deep and 12mm wide. Getting this fit nice and snug will ensure an air tight seal without any need for additional gaskets.
Once the depth is achieved do test fittings, each time taking a shallow pass with the router off the inside or outside edges of the grove until it slots securely in place.
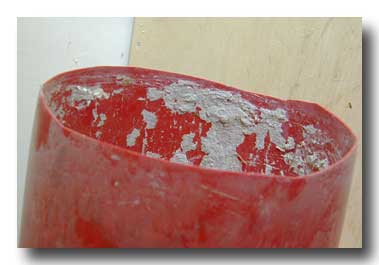
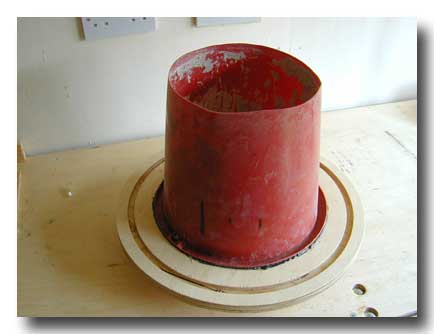
The next stage is fitting the inner wall of the cyclone. For this I found an old smooth plastic bucket once used for mixing plaster!
A few belts with a club hammer dislodged most of the plaster - then I lopped the bottom of it with a knife.
Next measure the diameter of the mouth of the bucket carefully and repeat the routing exercise to create a grove for the bucket to locate in.
When this is done, drill a suitable entrance hole in the centre of the lid for the exit pipe. (Make sure this is the last thing you do otherwise you will have nothing to stick your beam trammel into!)
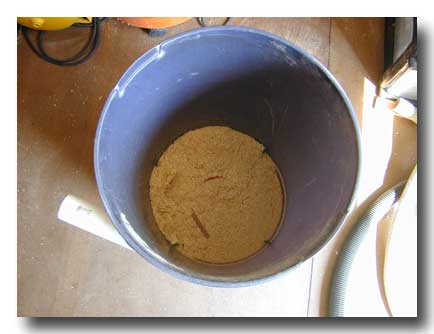
Add some hot melt glue to the channel cut for the bucket and stick it in place.

Alas I only had the one flexible hose for the vacuum cleaner - so as a temporary fix I used some more waste pipe for the connection to the sucker. The connection to the vacuum cleaner is just with a 3" section of pipe poking into the inlet.
The vacuum cleaners own hose is attached to the inlet of the cyclone via a short stub of 32mm waste pipe and some insulating tape. That way it just "plugs into" the inlet of the cyclone.
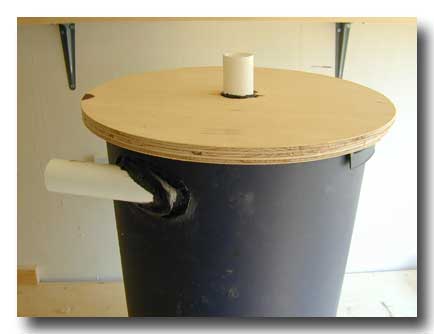
And here is one I prepared earlier!

The result!
Even relatively fine dust seems to get trapped quite well by the cyclone.
Take care when you empty it, or you will be inhaling the fine stuff for the next 5 mins! (guess who found out the hard way!)
Summary
Total cost of the project would be approx. £20 if you actually went out and bought the bits. Allow about 2 hours to make.