Phase 3
The workshop begins.....
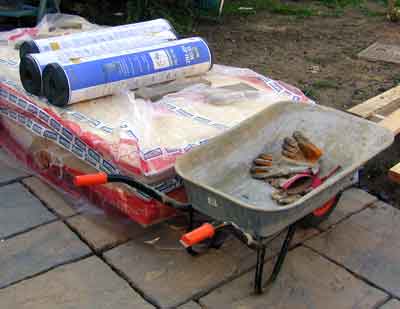
First ply your local builders merchant with enough financial incentive and they send you a lorry load of "stuff" - literally!
(That does not include the 500 meters of timber in the front garden!)
Next we go for a quick trip to a demolition yard for the deal of the week: a hardwood front door and a nice double glazed window, all with change from 60 quid!
Ever wondered what 40 kilos of polystyrene looks like?
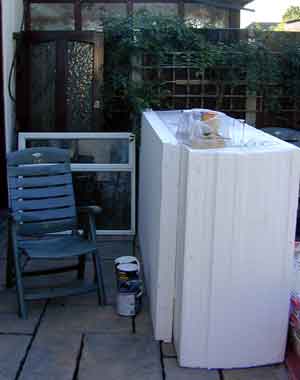
Now you know!
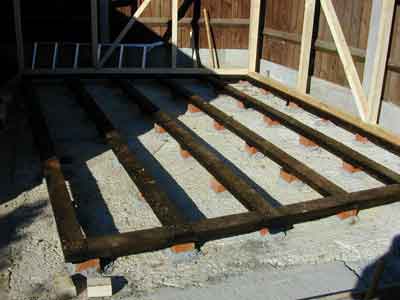
Next we need lots of engineering bricks - cut them in half, and then concrete them into a nice even pattern (with a laser sprit level!) ready for the workshop floor joists.
Start with a plan!
First assemble your base and create the studwork for the first wall or two.
Marinade it in cuprinol... spend the next week working out what happened to your sense of smell..... I know it was knackered by the smell of wood preserver!
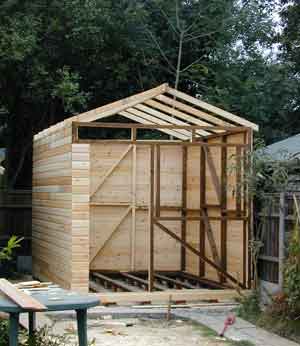
Fast forward a few days and we now have four walls!
Time to break out another toy...... get the nail gun up to pressure and start sticking on the shiplap cladding. At last we start to se the outline of a building....
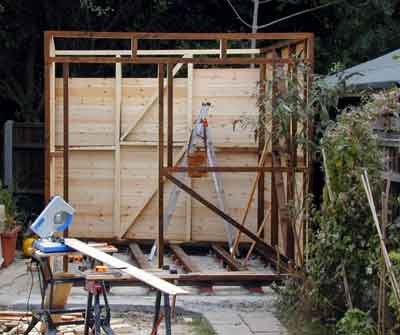
Now things start getting a bit more tricky....
Lots of calculations and trig functions later and we have two rather confused engineers! (personally, I blame my maths teacher ;-)
Nothing for it but start cutting some interesting angles into bits of wood and see what it looks like...
Oops - time to deviate from the plans a bit - the original 30 degree pitch does not look "right" when we try it.... so in the end we decide on a nice 20 pitch instead.
And how about this then:
Not bad so far....
Now we add some more bracing (after all its going to have to survive a baby Johnny bouncing all over the top of it when the felt goes on!) and we can start adding the boarding to the top.
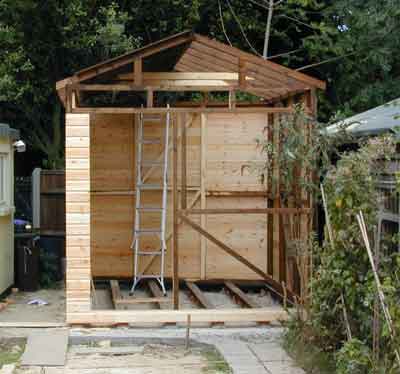
Now for the worst bit.... a large pile of little galvanised nails, rolls of roofing felt, and gallons of black sticky gloop... and two days of stickiness later we have a roof:
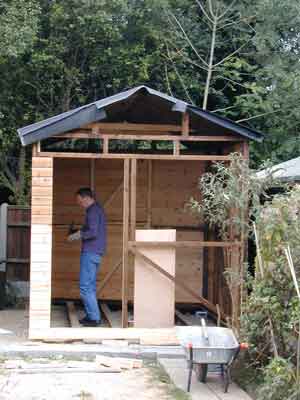
3 layers of felt later (or to put it another way, 170 Kg of the stuff!) -A bit flappy round the edges... but it might just keep out the rain.....
At this point it might be wise to point out the saintly individual pictured here.... This is Martin. While I have to question his sanity for coming over, seven days a week, for weeks now, to help with this mad construction, I also have to express my enormous gratitude for all the assistance and help!
Time for a quick tidy of the edges:
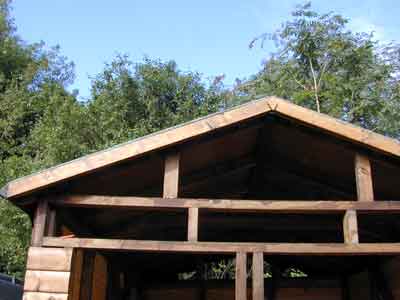
Ah - much better....
Now we begin the quest to find more cladding..... I have run out, the builders merchant has run out, and it looks like it might be a while yet....
[Web site creators note: at this point of the web site creation Janey walks in states that "some people have way too much time on their hands.... can't think what she means!]
Nothing for it but to hit the phone and quiz a few local timber merchants. Eventually we find one who has some in stock at a sensible price. Only problem is it is slightly different in profile (also a different type of wood - but we can live with that when it is glooped in wood preserver!!). So no fear - get out the router and add a curve here and there and it almost looks like the original stuff....
Stick it on. Install the floor panels on the floor joists. Fit the door and the window and we get:
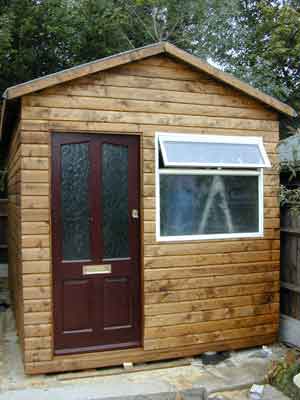
(How's that for pretty, we think it really deserves its own post code!)
Now we have done the outside - time to get on with the inside.....